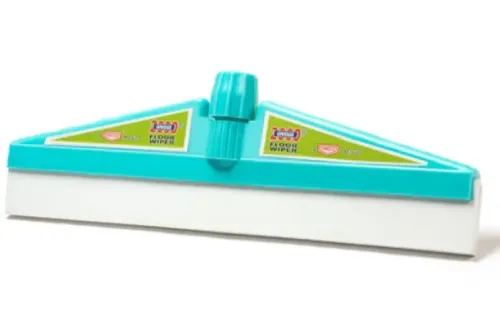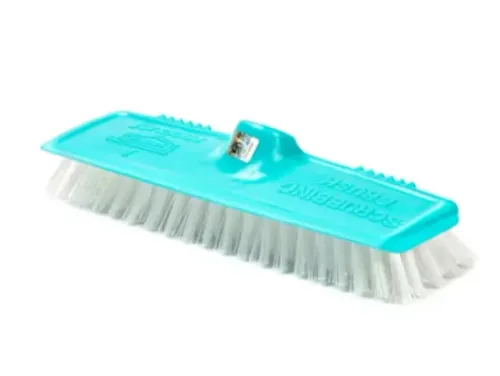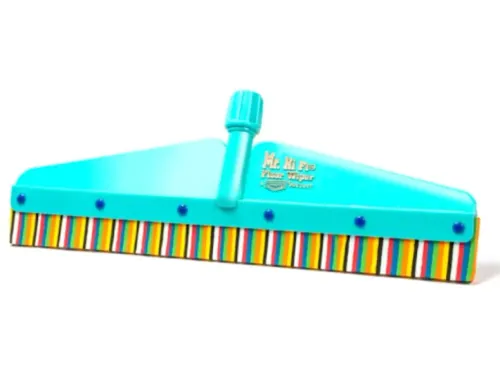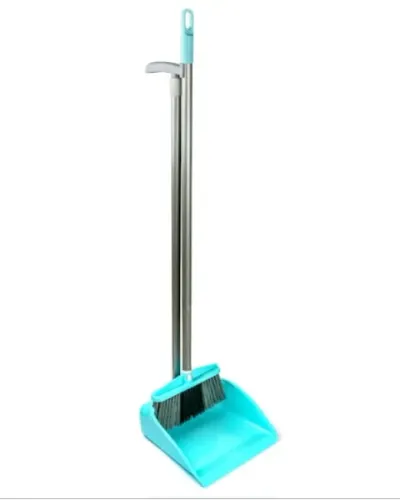
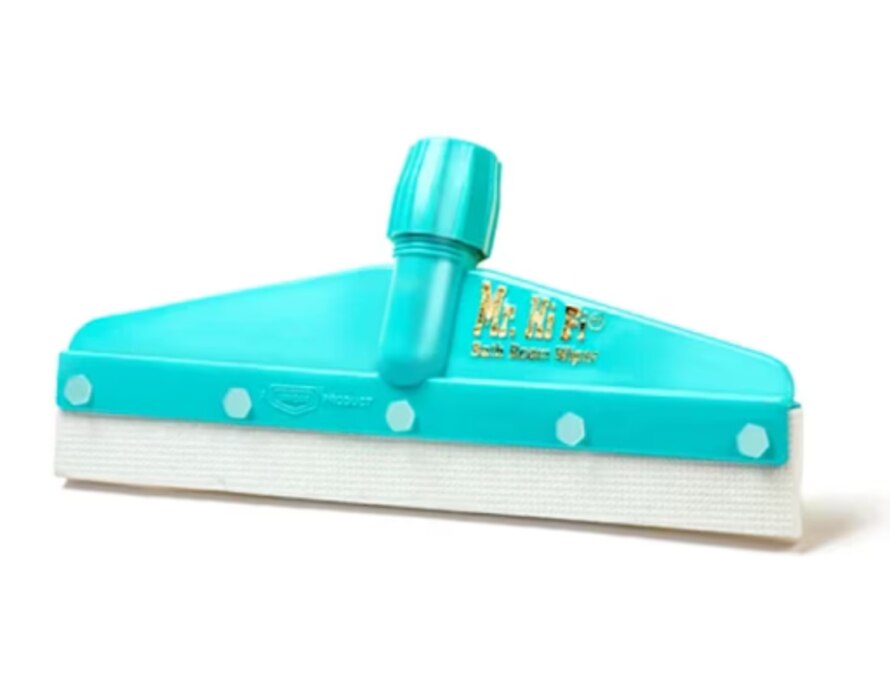
A bathroom wiper saves work only when its edge keeps contact with the floor and sends water to a drain instead of spreading it into another wet patch. By the end, you can match the blade, width, handle, joint, and maintenance features to your floor, room layout, cleaning load, and safety requirements.
Key takeaways
- Push water toward a drain or collection point, not across the room.
- Match the blade edge to your floor texture and grout depth.
- Choose width, handle length, and joint movement for your room size.
- Replace or clean worn blades when they leave water trails.
How do you use a bathroom wiper to leave the floor dry?
To dry a wet bathroom floor, learn how to use a bathroom wiper to move water toward a drain or collection point, not simply relocate it. Follow this sequence:
1. Remove hair, sand, and loose grit with a broom or dustpan. Debris can wrap around the blade, scratch finishes, and break its contact with the floor.
2. Start at the farthest area and push water toward drain using overlapping passes. Keep each pass slightly over the previous one, then rinse or wipe the blade after every pass.
3. Maintain the right wiper angle and pressure: hold the handle at roughly 30 to 45 degrees and press down enough to keep a continuous contact line. Reduce force if the rubber folds, deforms, or drags.
4. Check the strip behind the blade. It should be dry; if a thin film remains, adjust the angle or pressure and repeat the pass.
5. Pull residual water from corners, wall edges, thresholds, and around the toilet. In a commercial washroom, direct water to the drain before allowing foot traffic.
A wiper controls water and drying time; it does not replace cleaning. Remove loose soil, apply the approved chemical, disinfect where required, then remove residual water.
Which blade edge works best on your floor surface?
Match blade flexibility and profile to the floor, not width alone. A flexible bathroom wiper blade with soft rubber or foam conforms to textured ceramic tile, uneven grout lines, and lightly irregular surfaces. A rigid edge can skip across joints and leave narrow wet tracks.
| Floor surface | Best edge | Why |
|---|---|---|
| Textured ceramic tile and uneven grout | Soft rubber or foam | Follows joints and surface changes |
| Porcelain floor wiper use | Firmer elastomer | Recovers water cleanly with less drag |
| Natural stone and vinyl floors | Firm, flexible elastomer | Maintains contact on smooth sealed finishes |
| Epoxy | Firmer elastomer | Leaves fewer residual films |
Test the edge before buying. Place the head flat on a representative area and pull it across several grout joints. The lip should lie flat, leave one continuous dry strip, and stay in contact at both ends. Reject it if the corners curl upward, the blade skips, or parallel wet lines remain.
A double-lip blade collects water on forward and return strokes, helping in open areas. It also traps more hair, soap residue, and grit, so choose a profile that rinses easily or has a replaceable cassette. Test the blade at wall edges, thresholds, and room boundaries as well as in the centre.
What wiper width, joint, and handle fit your room?
Choose the head width by clearance, not coverage alone. A 30 cm bathroom wiper turns easily around a toilet, shower screen, vanity, and floor drain, making it suitable for small bathrooms and narrow shower enclosures.
| Width | Best fit | Trade-off |
|---|---|---|
| 30 cm | Small bathroom or narrow shower enclosure | Turns easily, but needs more passes |
| 40 cm | Standard bathroom, corridor, or commercial washroom | Good coverage with practical manoeuvrability |
| 45 cm | Standard bathroom or wider washroom | Covers more per stroke; needs extra turning space |
| 50 cm | Large open floor | Reduces passes but can feel awkward in cubicles |
| Above 60 cm | Open shower rooms and unobstructed areas | Fast coverage, poor access around fixtures |
A 40 cm floor wiper or 45 cm floor squeegee is a practical general-purpose choice. A 50 cm wiper for large floors only works well when the head has room to turn without striking walls, partitions, or fittings.
Choose a pivoting head to keep the blade aligned around corners and under fixtures. Avoid a completely loose joint: it can twist at thresholds or catch on grout. A controllable joint, preferably with a locking position, gives better control when pushing pooled water toward a drain.
Handle length depends on the user’s height, drain position, storage space, and room geometry. A long handle reduces stooping but weakens downward control around toilets; a short handle improves close work but increases bending. For multiple rooms, choose a telescopic handle with a positive-locking collar that does not collapse under load.
When should you use a broom, brush, mop, or wet vacuum instead?
Choose the tool by the job: sweeping, scrubbing, extracting, or directing water. Before using a wiper, remove hair and grit with a broom and dustpan. Hair can wrap around the blade, while sand can scratch some finishes or interrupt edge contact.
| Option | What it does | When it applies |
|---|---|---|
| Broom or dustpan | Removes dry, loose soil | Hair, sand, grit, and other debris before wet cleaning |
| Brush | Agitates stuck deposits with cleaner | Soap film or deposits that need scrubbing |
| Bathroom wiper | Directs a shallow layer of clean water | Recently cleaned water that can reach a drain |
| Mop | Distributes solution and lifts soil | Cleaning requires detergent contact, not only liquid removal |
| Wet vacuum | Extracts water into a recovery tank | No suitable drain, heavy water load, or water that must be recovered |
The bathroom wiper versus mop decision is simple: use the mop to clean soil and the wiper to control residual water. The floor squeegee versus wet vacuum decision depends on volume, drainage, and whether extraction is required.
Do not use a wiper for concentrated chemicals, heavy sediment, water deeper than its blade can control, or heavily uneven flooring. For chemical spill floor cleaning, follow the product safety data sheet and site spill procedure, wear specified protective equipment, and keep liquid out of an uncontrolled drain.
Which maintenance and hygiene features keep a wiper effective?
Judge a wiper by its edge, not its head. Replace or reverse the blade when nicks, permanent curls, hardening, or gaps leave residual strips of water. For professional use, specify a replaceable bathroom wiper blade or cassette and confirm that spare parts are available; a replaceable claim alone proves nothing.
A hygienic floor squeegee design uses a one-piece molded head, smooth surfaces, sealed joints, and no exposed screws or deep cavities where hair, biofilm, and residue collect. Rinse the blade after use, let it drain and dry, and never store it flat while wet. A hanging hole helps only when the hook allows drainage.
Use colour-coded cleaning tools within a documented zone system, not as its only control. Separate washroom tools from food-preparation or clinical tools, train staff, and provide separate storage.
| Feature | Check | Failure prevented |
|---|---|---|
| Edge | Continuous contact without nicks, curls, hardening, or gaps | Wet strips and repeat passes |
| Storage | Drainage through a hole or hook; blade dries upright | Odour and microbial growth |
| Professional supply | Spare blades or cassettes remain available | Discarding complete tools |
For bulk orders, assess Unique Trading Company on spare-part continuity, consistent heads and handles, cleanable construction, and packaging that protects each tool in storage.
Related products
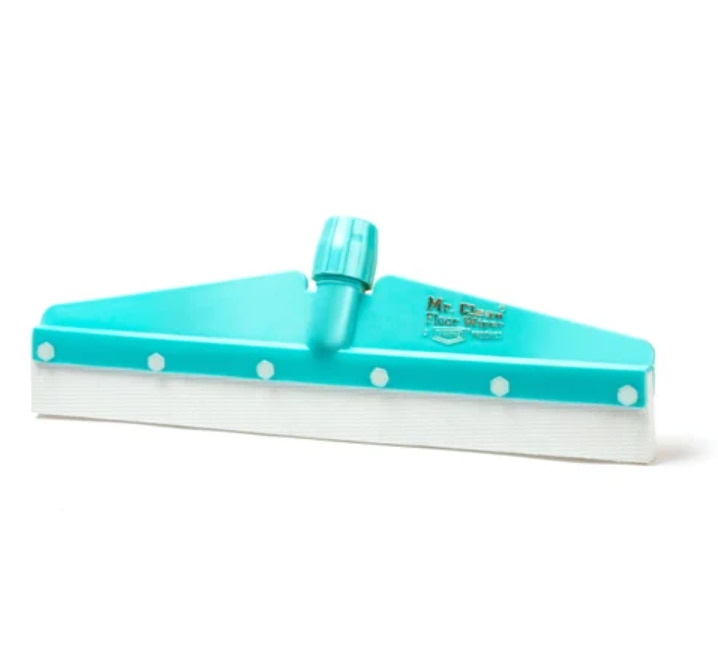 | Plastic Floor Wiper Approx. Price: Rs 108 / PieceGet Latest Price Product Details: Brand Unique Rod Material Iron Rod Length 106 CM Blade Length 40 cm Usage/Application... View product → |
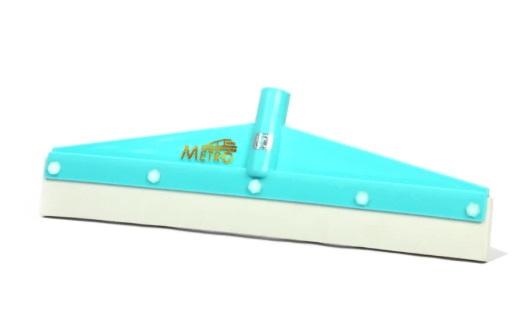 | Plastic Floor Wiper Approx. Price: Rs 96 / PieceGet Latest Price Product Details: Minimum Order Quantity 125 Piece Brand Unique Rod Material PVC Covered Handle Rod Rod... View product → |
How can you test a bathroom wiper before approving it?
Approve a bathroom wiper only after a short floor trial reproduces the job, not after a smooth showroom demonstration. Wet a defined area containing the actual tile, grout joints, threshold, wall edges, and fixtures.
Pull the wiper toward the drain at the intended working angle, then test blade contact by checking for one continuously dry strip behind the edge.
Repeat with light and moderate pressure. The better tool keeps contact without excessive drag, blade curl, or handle flex. Count the passes needed to clear the defined area, and note whether hair, grit, or soap residue becomes trapped in the profile. Inspect the blade afterward for cuts and permanent deformation.
| Configuration | Trial focus | Approval signal |
|---|---|---|
| Small bathroom | Toilet base, vanity, shower screen, narrowest route | Head turns without repeated repositioning |
| Commercial washroom | Thresholds and drain approach | Swivel stays controllable and leaves a dry strip |
| Open floor | Defined area and repeated passes | Fewer passes without trapped debris |
Check that a telescopic collar does not slip when force is applied. Record the floor type, head width, handle setting, cleaning chemical, and user height with the result. Add these findings to your bathroom wiper buying checklist, floor wiper performance test, and commercial cleaning tool specification.
Frequently asked questions
How do you use a bathroom wiper to leave the floor dry?
Start at the farthest area and pull water toward the drain or collection point in overlapping strokes. Keep the blade in full contact with the floor, then wipe the remaining edge water and rinse the blade.
Which blade edge works best on your floor surface?
Use a flexible rubber edge for smooth ceramic tiles, porcelain, and glass. Choose a softer or more flexible edge for uneven tiles, while checking that it reaches across grout lines without skipping.
What wiper width, joint, and handle fit your room?
Use a wider head for open floors and a narrower head for shower corners, around toilets, and other tight spaces. Select a pivoting joint for changing angles and a handle that lets you work upright without striking fixtures.
When should you use a broom, brush, mop, or wet vacuum instead?
Use a broom for loose dry debris, a brush for stuck-on dirt and grout, a mop for washing and picking up residue, and a wet vacuum for larger water volumes or recovery from low areas. Use a wiper for fast surface-water removal.
Which maintenance and hygiene features keep a wiper effective?
Rinse off hair, grit, and cleaning chemicals after use, then store the blade raised or hanging so it dries. Check for splits, curls, hardening, loose fasteners, and trapped dirt along the blade.
Related products
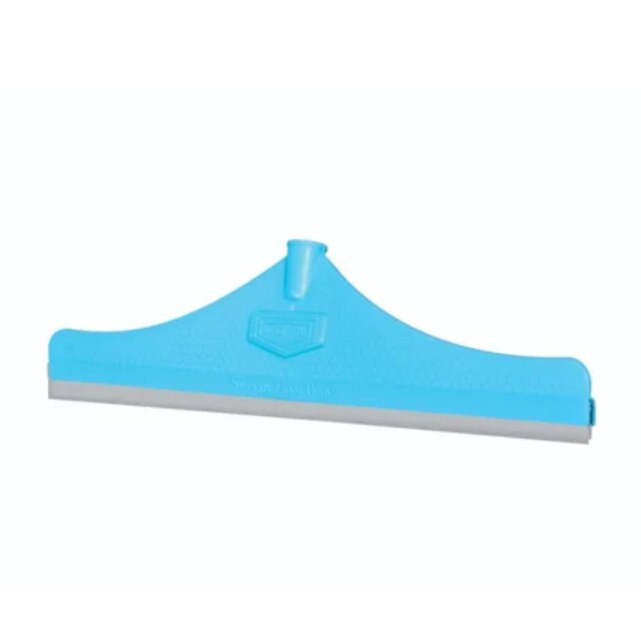 | Plastic Floor Wiper Approx. Price: Rs 132 / PieceGet Latest Price Product Details: Minimum Order Quantity 100 Piece Material Plastic Rod Length 125cm Blade Length 41 cm... View product → |
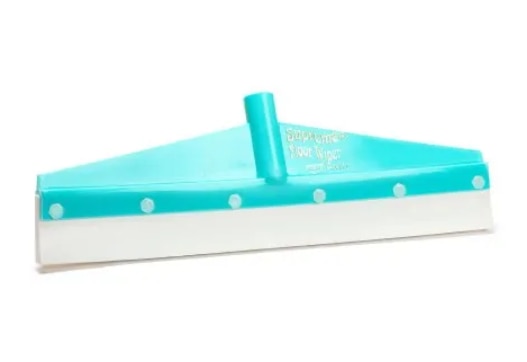 | Plastic Floor Wiper Approx. Price: Rs 102 / PieceGet Latest Price Product Details: Minimum Order Quantity 125 Piece Material Plastic Brand Unique Blade Material... View product → |
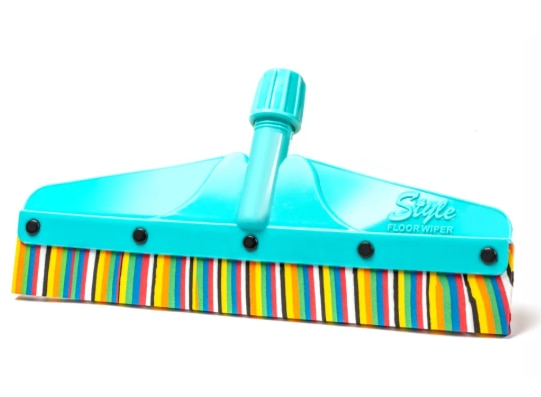 | Plastic Floor Wiper Approx. Price: Rs 130 / PieceGet Latest Price Product Details: Minimum Order Quantity 100 Piece Material Plastic Brand Unique Blade Material... View product → |
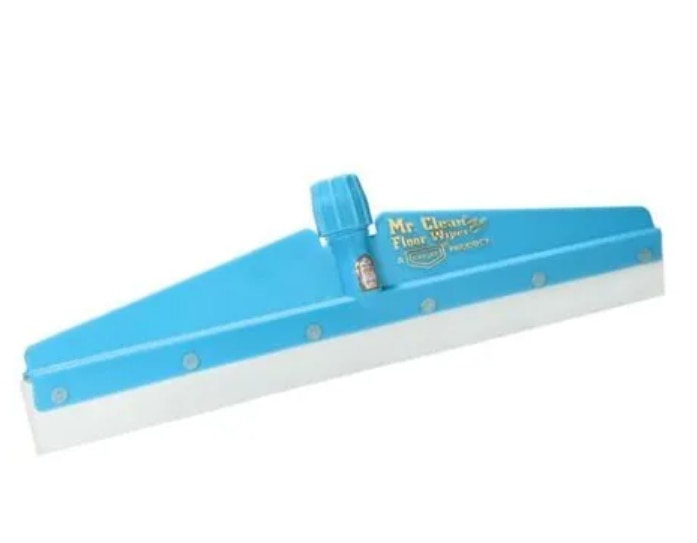 | Plastic Floor Wiper Mr Clean Plus Plastic Floor Wipers Approx. Price: Rs 158 / PieceGet Latest Price Product Details: Minimum Order Quantity 100 Piece Material Plastic Brand Unique Blade Material... View product → |