A sponge mop can collect a fresh spill quickly, but the result depends on what you remove before wetting the floor, how you control the dirty water and how you finish the surface. By following the right sequence, you can deal with water, mud and routine drink or food spills without spreading them, damaging the floor or leaving a slip hazard behind.
Key takeaways
- Block off the spill and remove sharp debris before wetting the mop.
- Work from the outside edge inward to avoid spreading fresh water.
- Lift wet mud first; scrub dried mud only after softening it.
- Match mop moisture to the floor and dry the mop after use.
Prepare the spill area before you wet the mop
A sponge mop suits a small or moderate liquid spill on a smooth, sealed floor such as ceramic tile, vitrified tile, vinyl or sealed concrete. It is the wrong tool for flooding, heavily textured flooring, broken glass, sharp debris or contaminated water; use a wet vacuum, squeegee or extraction system for bulk recovery.
Make the spill assessment before adding water. Check the floor type, the spill’s size and source, nearby electrical equipment, and whether anyone could slip or contact a harmful substance.
- Keep people away and place a warning sign at both approaches to the wet area. Wear gloves if the liquid came from food waste, footwear or an unknown source.
- Remove dry soil before wet cleaning. Carry out a pre-sweep or vacuum, collecting loose grit and dried mud rather than pushing them into the spill.
- Pick up large wet mud clumps with disposable towels or a scraper. Do not drag them through clean areas.
- Check for broken glass, needles or sharp fragments by sight; never run the sponge mop over them. Use tongs or a brush and pan.
- Test a hidden spot if the floor finish is unfamiliar. On wood, use only a tightly wrung, damp sponge head and dry remaining puddles immediately.
- Keep the mop water separate from any disinfectant. Cleaning removes visible soil; disinfection requires a labelled product and its stated wet contact time.
Remove a fresh water spill without pushing it across the floor
Start at the dry edge of the fresh water spill and work inward. This lets you contain the spill instead of driving its edge into a wider area. Keep the sponge head damp, not dripping; excess water creates a second spill.
1. Move loose objects, cords and mats away from the water. Position the sponge mop just outside the spill’s dry boundary.
2. Pull the mop toward the centre using short, overlapping strokes. Lift and reposition the head after each stroke rather than pushing it forward across the floor.
3. At the centre, lift the mop and carry it to the bucket. Do not drag a loaded head over dry flooring.
4. Rinse the sponge head in clean water, or wring the sponge mop thoroughly over the bucket until it stops releasing water. Repeat the edge-to-centre passes until no visible water remains.
5. Check grout lines, floor joints and the area beneath nearby furniture legs. Press the mop into these edges without flooding them, then rinse and wring the head again.
Finish with a dry pass using a tightly wrung sponge head. Pull it across the cleaned area in overlapping strokes, then inspect the floor from a low angle for thin films or puddles. Empty the recovered water instead of returning it to a clean solution container.
Lift wet mud and everyday spills before they dry
Wet mud spreads when you attack it with a soaked mop. Remove loose clumps with a scraper or disposable towel first, then use a well-wrung sponge head and work from the clean edge towards the centre.
- Blot a tea spill, milk spill or juice spill with the sponge head held flat. Lift the head straight up after each pass instead of dragging it into clean floor.
- Rinse or wring the sponge after each short section. Dirty water left in the head redeposits the spill and turns footwear marks into a larger smear.
- Treat cooking water and dirty footwear marks with the least liquid that removes them. Make overlapping strokes, keeping the cleaned area separate from the remaining soil.
- For wet mud, pick up every visible clump before mopping. Rinse between passes so grit does not scratch the surface or lodge in grout, texture and floor joints.
- Finish with a well-wrung pass to collect the remaining film. Keep people away until the floor is dry, or place a warning sign and guard the wet area.
Blot vinegar, citrus juice or descaling liquid promptly on marble and other calcium-carbonate stone. A sponge mop removes the liquid, but repeated acid contact can etch the finish, and mopping cannot reverse that damage. Milk residue also needs prompt removal because it leaves an odour-producing film as it dries.
Control moisture for each floor surface and choose the right mop
A sponge head should be wet enough to collect the spill, never wet enough to leave a trail or puddle. Use these moisture levels after rinsing and squeezing:
| Surface | Sponge-head moisture | What to check after each pass |
|---|---|---|
| Ceramic tile | Damp to moderately wet | Grout must not hold standing water |
| Vitrified tile | Damp; use more water only for sticky soil | Remove the film before it dries |
| Marble | Tightly wrung and damp | Dry promptly; avoid pooling at joints |
| Granite | Damp to moderately wet | Dry textured or open-joint areas immediately |
| Vinyl | Damp, not dripping | Check seams and edges for trapped water |
| Laminate | Tightly wrung, almost dry | Dry every remaining bead at once |
| Sealed concrete | Damp to moderately wet | Do not leave water in texture or cracks |
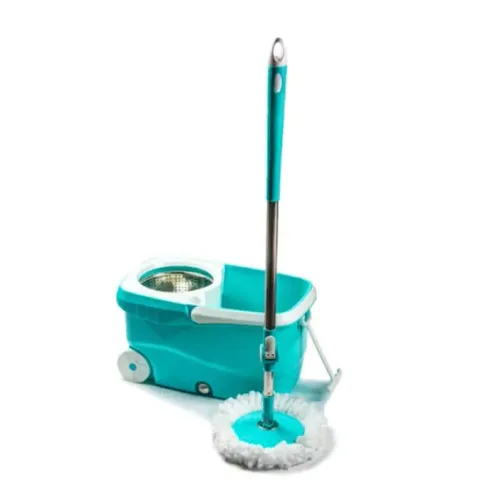
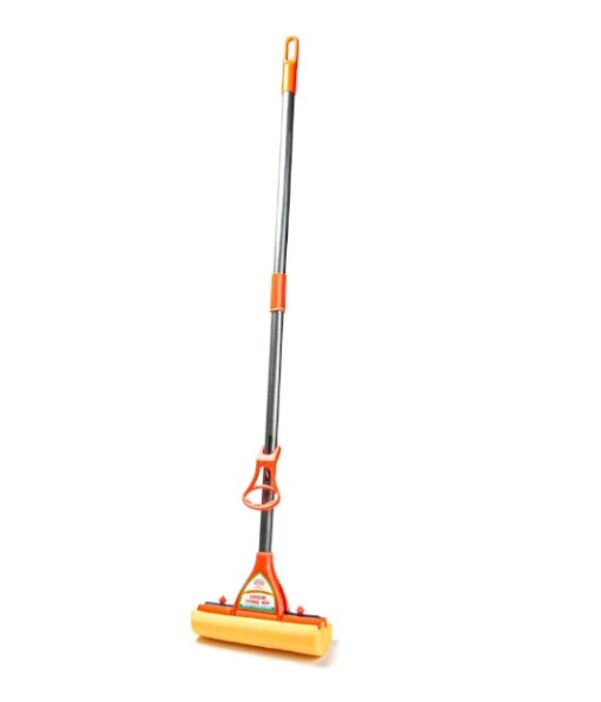
Compare sponge mops by the parts that control moisture, not by colour or handle length. Check:
- Whether the wringer compresses the full sponge evenly rather than leaving a wet centre
- Sponge width and thickness, so one pass collects water without becoming too heavy
- Handle strength, grip and adjustable reach for pushing without bending the head
- Head shape, especially its ability to reach corners without scraping skirting
- Replacement-head availability and the instructions for rinsing or sanitising it
Unique Trading Company’s listed mop specifications help identify construction details, but test the actual wringing action before buying for a busy site. A head that stays saturated spreads dirty water; a head that is too dry leaves soil behind.
Related products
 | Heavy Duty Mop Approx. Price: Rs 205 / PieceGet Latest Price Product Details: Color Yellow Mop Head Material Sponge Rod Material Stainless Steel Type of Mops Wet... View product → |
 | Heavy Duty Mop Approx. Price: Rs 300 / PieceGet Latest Price Product Details: Pole Material Stainless Steel Color Blue Mop Head Material PVA Usage/Application Floor... View product → |
Rinse, dry and store the mop while managing hazards
A thorough rinse, complete drying and safe storage prevent mop odour, mould and accidental recontamination. Keep people off the wet floor until it is dry, and place a warning sign where someone could slip.
- Rinse sponge mop head under clean running water until the runoff is clear. Check the sponge for trapped grit, hair and food residue.
- Wring it firmly, empty the dirty water, and repeat the rinse rather than returning contaminated water to the floor.
- Leave the head fully extended or separated from the handle in a ventilated place. Do not store it compressed in a bucket or closed cupboard.
- Wash or replace the head when it remains malodorous, tears, crumbles or no longer releases clear rinse water.
- Keep heads and buckets assigned to their area. Never move a mop from a toilet or food-service area to a cleaner zone without laundering or replacing it.
A PVA sponge can harden when stored dry. Soften it with water before squeezing or using the wringer; forcing a rigid head through the mechanism can damage both.
A sponge mop is the wrong tool for flood-level water, heavily textured floors or floors covered with abrasive grit. Use a wet vacuum, squeegee or extraction machine for bulk recovery, then mop the residue.
On wood, use only a tightly wrung head and dry puddles immediately; excess water can enter joints, swell boards and damage the finish.
Frequently asked questions
What should you do before using a sponge mop on a spill?
Block off the area, remove loose sharp debris, identify the liquid and check that the floor is smooth and sealed. Do not use a sponge mop for flooding, broken glass or contaminated water.
How do you remove a fresh water spill without spreading it?
Start at the outside edge and move inward, using controlled passes that pull water toward one collection point. Wring the sponge when it becomes saturated.
How should you remove wet mud and everyday spills?
Lift wet mud and loose material before mopping, then rinse the sponge between passes. Remove everyday spills promptly so they do not dry onto the floor.
How much moisture should you use on different floor surfaces?
Use enough moisture to collect the spill, not flood the surface. Ceramic and vitrified tile tolerate more moisture than vinyl or sealed concrete, which need controlled passes and quick drying.
How should you rinse, dry and store a sponge mop?
Rinse until the runoff is clear, wring out excess water, clean the handle and place the mop head where air can circulate. Keep people away until the floor is dry.
Related product
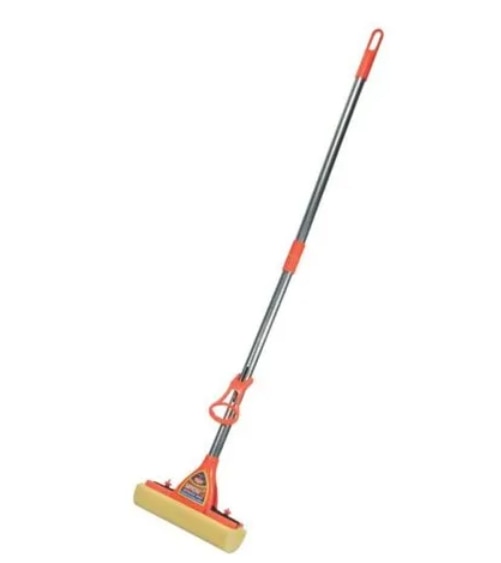 | Heavy Duty Mop Approx. Price: Rs 205 / PieceGet Latest Price Product Details: Minimum Order Quantity 100 Piece Usage/Application Floor Cleaning Rod Material... View product → |